Super Easy Crochet Hat For Beginners b

Super Easy Crochet Scarf Pattern for Beginners

Super Easy Crochet Scarf for Beginners

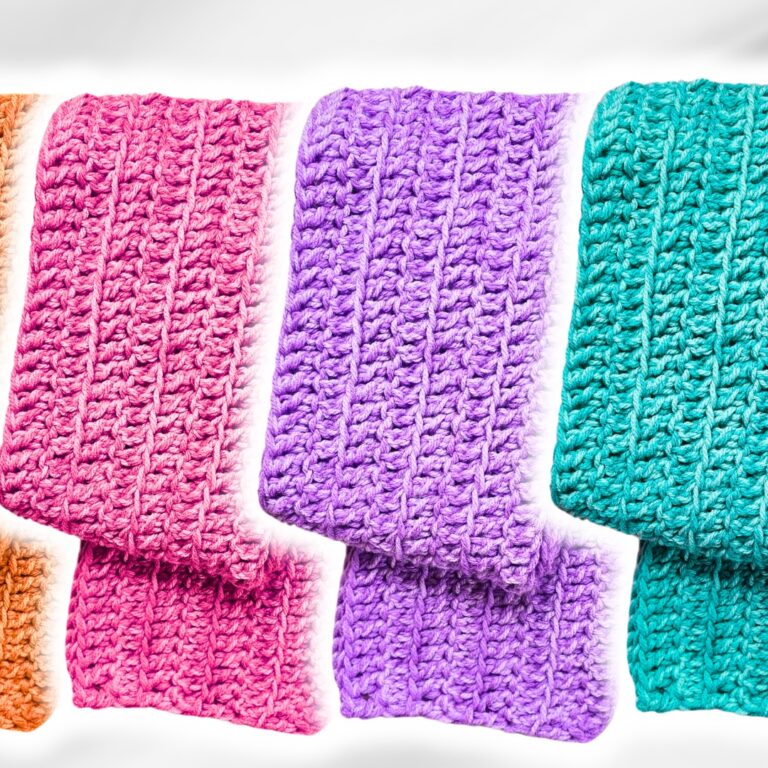
Looking for an easy crochet scarf that works up fast? This one’s perfect for experienced crocheters and beginners alike! Whether you’re crocheting on a chilly day or whipping up a last-minute gift, this super cozy scarf checks all the boxes. It’s worked with two strands of worsted weight yarn, making it extra thick and squishy while still being beginner-friendly. Follow along with the steps below, or if you prefer, you can watch the full tutorial here for even more guidance:

Materials Needed

Before we dive into the process, here’s what you’ll need:

Yarn Specifications

  • Yarn Weight: We’re using size 4, worsted weight acrylic yarn.
  • Amount: You’ll need about 200 grams in total, with 100 grams in each color. Feel free to mix and match colors depending on the look you’re going for!

Tools Required

  • 8 mm crochet hook: Perfect for the squishy effect we’re after.
  • 14 stitch markers: These will help guide you along the chain.
  • Needle: For sewing in your ends once you’re done.
  • Pair of scissors: For trimming your yarn.


Yarn Preparation

We’re going to work with two strands of yarn held together throughout this project. Why two strands? Using two strands at a time not only bulks up the scarf, but it also makes it extra warm and cozy, which is especially nice during colder weather. Plus, it helps the scarf come together quickly, ideal if you’re short on time or simply want a speedy project.

Getting Started: Making a Slip Knot

First things first, grab your yarn and make a slip knot. This is the starting point for every crochet project, and you’ll want to leave a little tail at the end so you can sew it in later. Shrink the knot until it’s snug on your hook. If you’re unsure about how to create a slip knot, that’s okay—this simple motion will soon become second nature after some practice.

Setting Up the Stitch Markers

Now, we’ll start with chaining in sets of 10. If you’ve never used stitch markers, they’re going to be your best friend here. Here’s what you’ll need to do:

  • Chain 10 stitches, then place one stitch marker in the last loop of that set.
  • Repeat this process until you’ve used all your 14 stitch markers or have a total of 140 chains.

If you happen to chain tightly, don’t worry. Consider switching to a larger hook size to make things easier on your hands.

Pro Tip on Loose Chaining

Loose chaining is key! You don’t want the loops to become too tight, as this will make it harder to insert your hook for the next row. To maintain a nice even tension, try not to pull the yarn too tight as you chain.


Crocheting the Foundation Row

Once your chain is ready and you’ve marked every tenth stitch with a stitch marker, it’s time to start the foundation row. This will be the backbone of your scarf.

Identifying the Back Loops

Take a close look at your chain. You’ll notice that each stitch forms a little V. Turn the chain slightly and you’ll see a series of “bumps” or camel loops running along the back. These are the back loops where we’ll work our stitches.

  • Begin by double crocheting into the third back loop from the hook.
  • As you go, continue placing one double crochet in each back loop of your chain until you reach the last stitch marker.

End of Row Check

When you finally reach the end, make sure that you double crochet into the last back loop lying right above your slip knot. Once you’re done, you can remove all but the final stitch marker. This one will help you keep track of your first stitch in the upcoming row.


Working Row Two

Now that the foundation row is complete, we’ll move on. Row two is pretty simple, and it’s where we’ll start working into the front loops only.

Starting Row Two

  1. First, chain one. Let the chain rest naturally on the hook—there’s no need to pull it tight.
  2. Then, turn your work.

Front Loop Only Double Crochet

Starting from the first stitch, we’ll be building our pattern using front loop only double crochets.

  • Insert your hook into the front loop (the part of the stitch facing you), right in the middle of that V.
  • Complete a double crochet.

Continue front loop only double crochets across each stitch until you reach the end. At the last stitch marker, finish the row with a regular double crochet by working under both parts of the V.


The Repeat Section: Row Three

Great! Now that you’re comfortable with front loop only double crochets, you’re ready to enter the repeat section, starting with row three. Here’s what you’ll do from now on:

  • Chain one and turn your work.
  • Continue with front loop only double crochets across every stitch, just like you did in row two.
  • End with a regular double crochet in the last stitch.


Keep Crocheting Until It Reaches Desired Width

Repeat row three until your scarf is as wide as you’d like or until you’ve completed a total of eight rows. That width will likely be around 6.5 inches if you follow the exact directions, but feel free to adjust depending on personal preference.

How to Count Your Rows

To make it easier to track your progress, look for the linear pattern forming in the middle of each row. If you find a line forming, that’s a good indicator. Need help with row counting? Just look at the leftover loops from your front-loop-only stitches—they’ll visually break up each row.


Finishing the Scarf

Now that your easy crochet scarf has reached the perfect width, it’s time to finish up. After your last row, chain one more time to secure the yarn.

  • Cut your yarn, leaving a tail long enough for sewing in.
  • Pull the yarn through to secure the final stitch.
  • Finally, grab your needle and weave in all your loose ends to keep everything tidy.


Matching Hat Option

If you love how this scarf turned out, there’s also a matching crochet hat tutorial on the site! A coordinated set can make a wonderful handmade gift, or if you’re a hat lover, it’ll complete your new fall or winter wardrobe. Check out this pattern here.


Troubleshooting and Tips

If your chain feels tight or you’re struggling with the loops, don’t worry—this happens to everyone at first. Here are some common issues and handy tips:

Common Mistakes

  • If your stitches are too tight, relax your grip. If that doesn’t work, try moving up to a 10 mm hook.
  • Skipping a back loop or front loop. Be sure to count your stitches as you go.

Adjusting the Width and Length

Making the scarf wider or longer is super simple. Just add more chains at the start or continue repeating rows until you’re satisfied with the length. You can easily adjust the design to fit your needs.


Left Handed?

No worries!  Your left handed tutorial is right here:


Conclusion

Congratulations on completing your easy crochet scarf! Whether you followed the written instructions or watched the video, I hope you’ve had fun making it and learned a lot along the way. Don’t hesitate to explore more patterns that suit your style—there are endless possibilities!

For more crochet inspiration, check out this amazing collection of easy crochet patterns. They’re a great starting point for more beginner-friendly projects.

Have questions or want to share what you made? I’d love to see your finished creations! Stay hooked and keep exploring the world of crochet—it’s always fun to learn something new.

Top 5 Sweaters d bigger

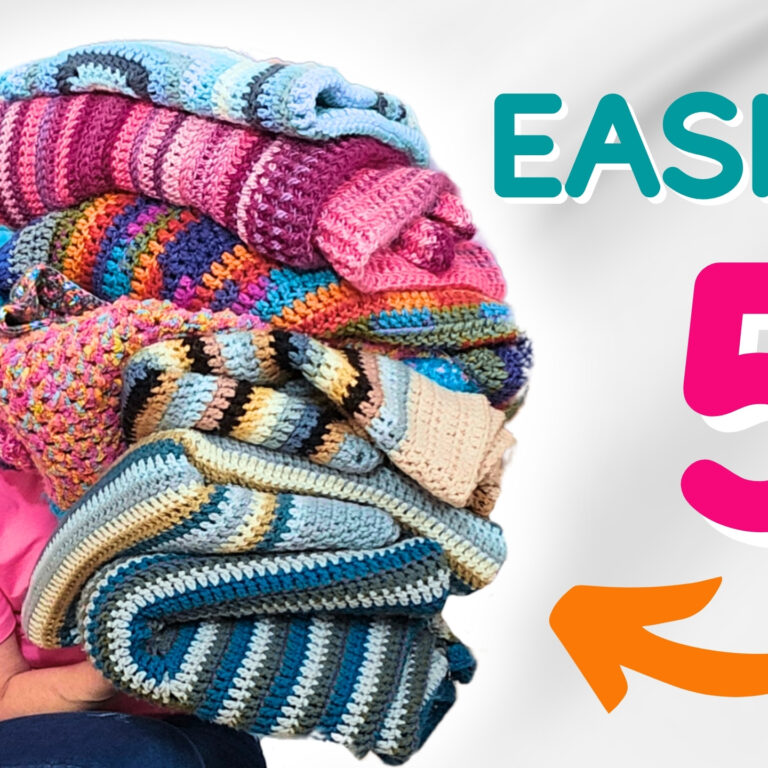
5 Must-Try Easy Crochet Sweaters for Beginners

Looking to dive into crochet sweaters but feeling a little intimidated? I get it — making wearables can seem scary! Maybe you’re worried it won’t fit right, or maybe you’ve tried before, and it just ended up feeling a little too handmade. But don’t worry! There’s a way to make stunning crochet sweaters without worrying about sizing, weird seams, or fitting into a super strict pattern. These easy crochet sweaters for beginners are all made to measure—so just grab your hook and yarn, and let’s create something fabulous.


Why Crochet Sweaters are Easier Than You Think

Over the years, I’ve crocheted a lot of sweaters, and I know what holds most people back. It’s the fear of messing up the fit or ending up with something that looks too “homemade.” I’ve been there too. But here’s the trick: these sweaters don’t need exact sizing! You measure the pieces against your body, so each one’s a custom fit. And guess what? You can achieve all this using just basic granny squares, hexagons, and other simple shapes. So stop stressing and start creating your first crochet sweater today!

Here are five crochet sweater patterns for beginners that you’ll love! If you can crochet a simple square or hexagon, you can make every single one of these—and no written pattern is strictly necessary for some of them. I’ve got free video tutorials for both right- and left-handers to make it even easier!

1. Four Square Granny Sweater

The Four Square Granny Sweater is exactly what it sounds like—a sweater made from just four granny squares! It’s so simple, and if you can crochet a granny square, you’re halfway there. Even better, there are no shoulder seams (aren’t those a pain?) because you join as you go! This join-as-you-go method keeps everything stretchy and seamless, just like the rest of the sweater.

Why you’ll love it:

  • No written pattern required.
  • You measure the squares to fit your body.
  • Perfect for those who hate sewing!

For a full visual guide, don’t miss the tutorials: right-handed or left-handed—take your pick and start creating!


2. Party Cardi

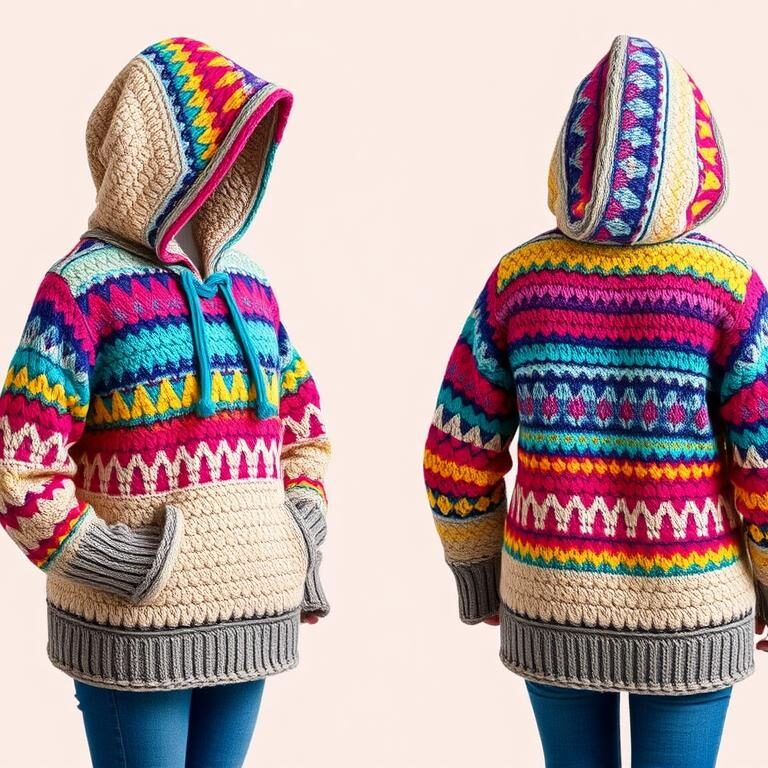
If you want to make something a little more fun, the Party Cardi is where it’s at! This colorful hexagon cardigan screams “fun crochet project” and practically begs to be worn to your next virtual (or in-person) get-together. It’s all about the hexagons in this one—super cute, super easy, and, yep, you guessed it, made to measure.

You can add a hood if you’re feeling fancy or skip it altogether. Make it as long or short as you want—the choice is yours! Take a look at the full tutorial here and get ready to party on with your crochet hook.

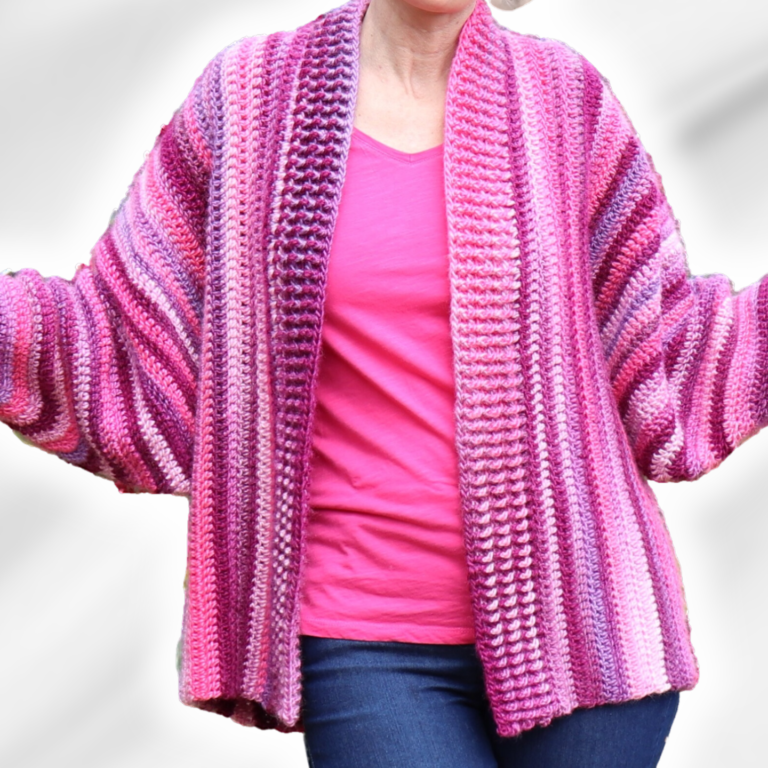
3. The Tammy Sweater

This one has a special place in my heart. The Tammy Sweater was inspired by Tammy, a member of our community who lost her battle with breast cancer. It’s a made-to-measure classic that’s perfect for any beginner. The pattern uses ribbing for a snug, cozy fit, and you can really feel the love in every stitch.

The sweater is incredibly versatile, whether you want to use light or chunky yarn, making it a wardrobe staple. Ready to get started? Check out the easy-to-follow written pattern here.

4. Cozy Cardi

If you’re like me and love the idea of a wearable blanket, you will love the Cozy Cardi. It’s made with a simple flower-square that starts right in the middle of your back—because why not add a little fun detail where people least expect it? This oversized sweater keeps you cozy and warm, making it perfect for lounging around the house or layering during cooler months.

Whether you’re living it up at home or stepping out, you’ll feel wrapped in comfort. And with just a little bit of texture and detail added around the cuffs, it’s got just the right amount of stylish flair to make you feel put-together. See the full details here.

5. Sweater in a Day

If you’re impatient like me, the Sweater in a Day is a dream come true! That’s right—you can make this sweater in just one day. It uses chunky yarn, a large hook, and simple stitches, so it works up fast. But don’t think that it compromises on style just because it’s quick to make! This sweater has a gorgeous stitch detail under the arms that gives it just the right amount of personality. You’ll be amazed at how easy it is.

Don’t wait—grab that chunky yarn and start your new favorite sweater. Check out the pattern here.

Customizing Your Crochet Sweaters

One of the best things about crochet is the flexibility it gives you to customize everything. Want longer sleeves? Go for it. Want to mix up the colors? Absolutely. The beauty of these easy crochet sweaters for beginners is that they’re all made to your measurements, meaning you can tweak each one to fit your style and preferences perfectly. Plus, using different yarn types or weights can really change the vibe of a sweater.

For example, using a smoother yarn will give a neat, sleek look while adding some eyelash yarn can give a playful, fun edge. Just make sure you’re using yarns of similar weight to avoid any weird stretching or uneven shapes.

Care and Maintenance

Don’t forget—taking care of your crochet sweaters is just as important as making them. To keep them looking fresh, always follow the yarn’s washing instructions. Acrylic yarn, common for most beginner projects, is pretty easy to maintain. Just wash it in cold water and lay it flat to dry to avoid stretching the fibers. And remember to store your crocheted pieces neatly folded to keep them in shape.

Start Your Crochet Sweater Journey Today

So, are you ready to try one of these fabulous easy crochet sweater patterns for beginners? Whether you’re starting with the simple Four Square Granny Sweater, going bold with the Party Cardi, or taking on the challenge with the Sweater in a Day, you’ll love wearing your work. Remember, it’s all about measuring as you go and enjoying the process. Crochet allows for endless creativity, so take these patterns as a starting point and make them your own!

Which one of these is your favorite? Have you already made one or two? Let me know in the comments! You can also check out more crochet sweater patterns and tutorials on The Secret Yarnery. Happy crocheting!

What will you make first?

Four Squared Granny Sweater

RIGHT HANDED TUTORIAL https://youtu.be/Lb66L_qxIUs  LEFT HANDED TUTORIAL  https://youtu.be/IYi2P0kdzqQ


Party Cardi

WRITTEN PATTERN  https://bit.ly/3J8h6YZ   RIGHT HANDED TUTORIAL https://youtu.be/JYXFtT17nN0   LEFT HANDED TUTORIAL  https://youtu.be/WL1h7hD_ZIA


Cozi Cardi

WRITTEN PATTERN  https://bit.ly/3o5bMOB  RIGHT HANDED TUTORIAL https://youtu.be/s1u61iir7DQ   LEFT HANDED TUTORIAL  https://youtu.be/J19KWQX_wcY


Tammy Sweater

WRITTEN PATTERN  https://bit.ly/3FXd9St  RIGHT HANDED TUTORIAL  https://youtu.be/V8SlgyUXj6Y  LEFT HANDED TUTORIAL  https://youtu.be/9vyK9Kuw230


Sweater in a Day

WRITTEN PATTERN  https://bit.ly/4bUVfkh  RIGHT HANDED TUTORIAL  https://youtu.be/lURVDUbE17s  LEFT HANDED TUTORIAL  https://youtu.be/JBWZCBG5N-4