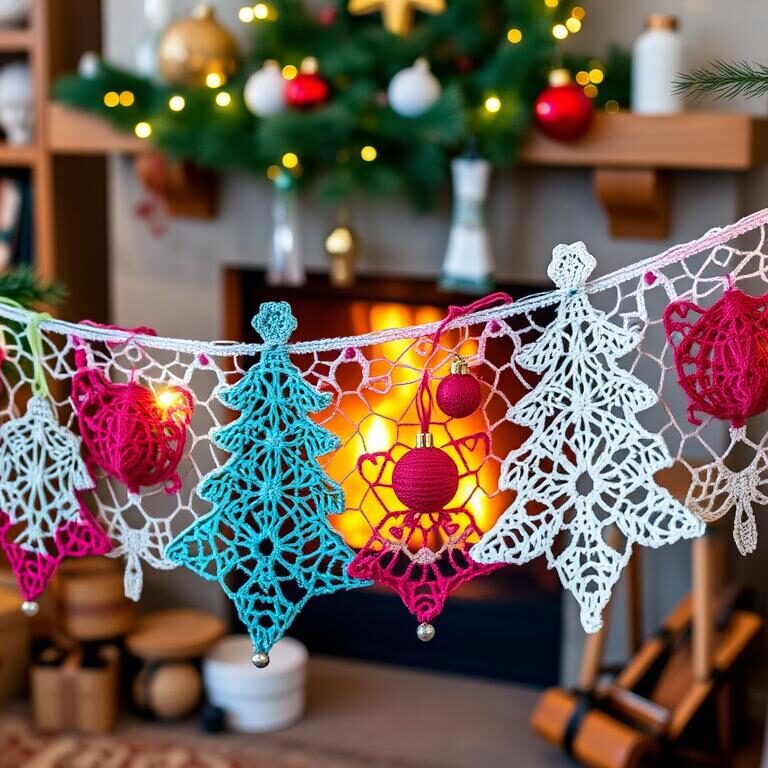
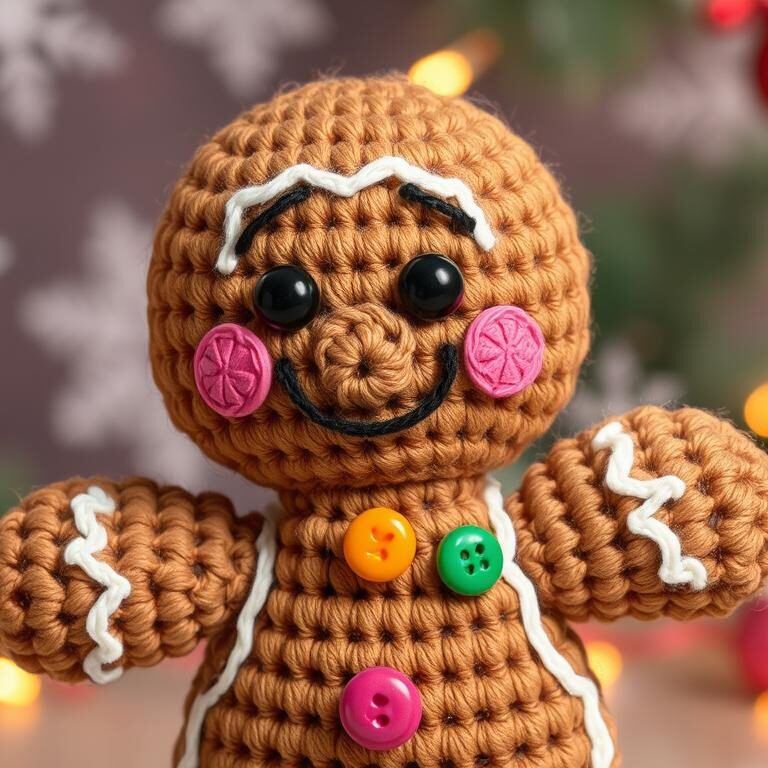
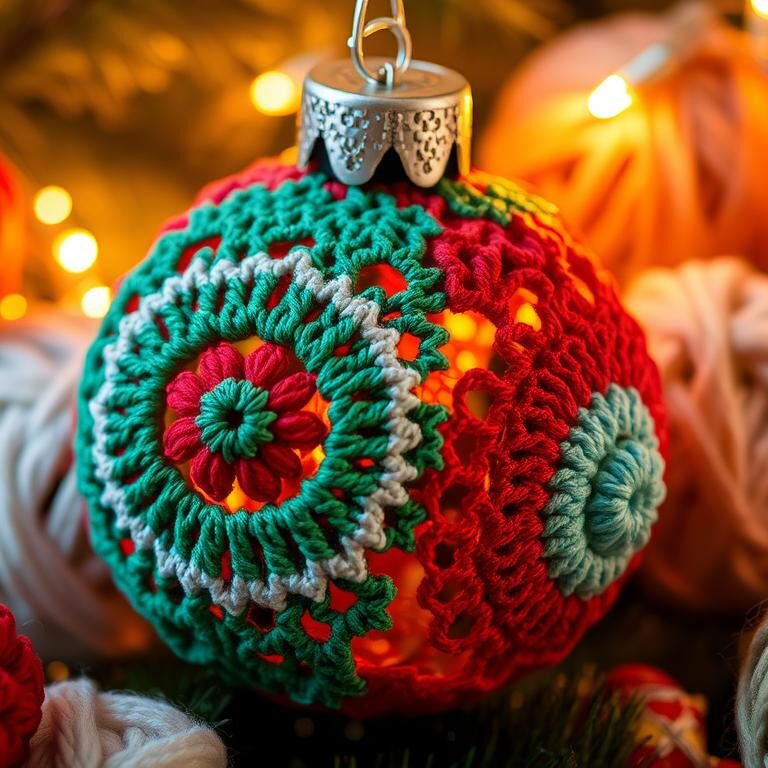
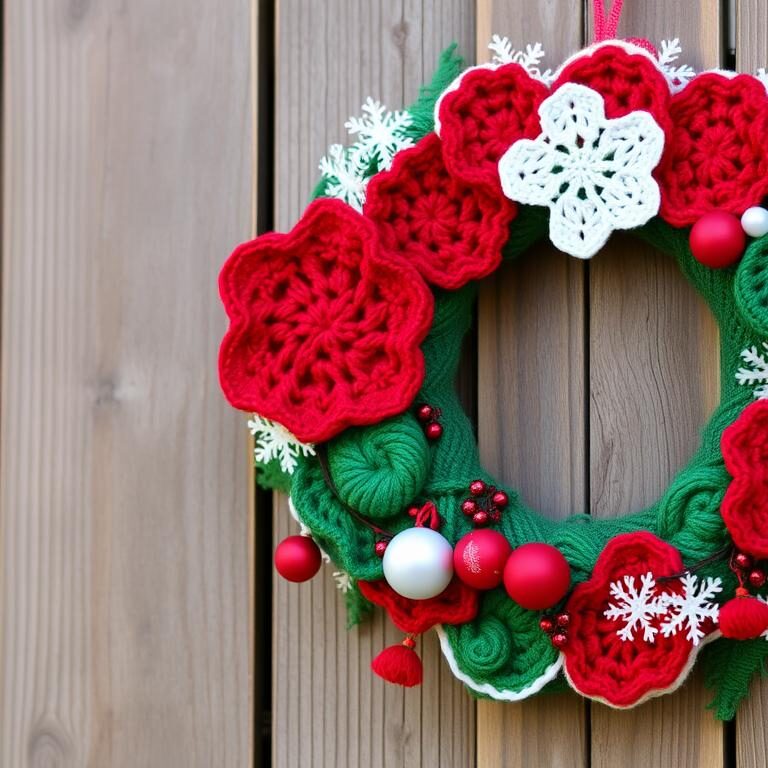
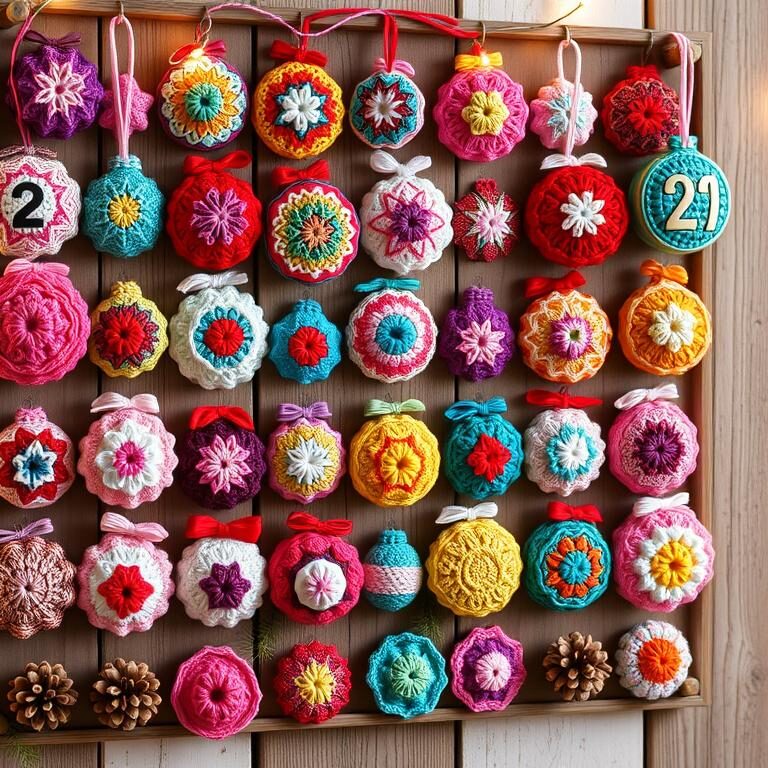
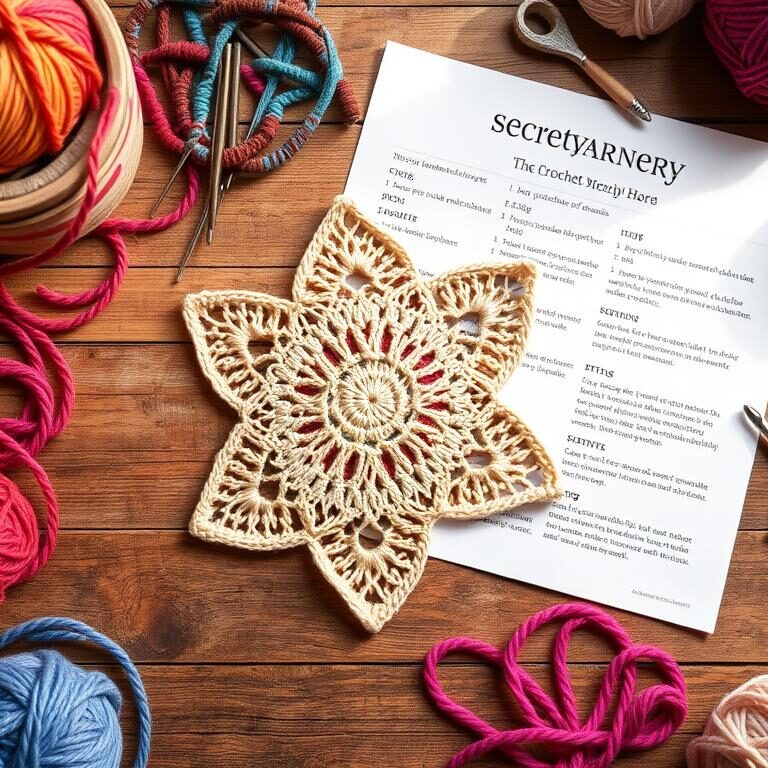
crochet advent calendar

Crochet Advent Calendar: Festive Handmade Countdown

As autumn’s cool air signals the holiday season’s start, I eagerly look forward to December. Crafting becomes a joy during this time. Creating a crochet advent calendar is one of my favorite projects.

Each piece I crochet brings me peace and purpose. With every stitch, the holiday spirit grows. I can’t wait to show it to my loved ones. The crochet advent calendar is not just a decoration. It’s a family tradition that reminds us of the season’s magic.

Far more than just a decorative piece, this handmade craft captures the essence of tradition and joy that each December brings. Imagine the excitement that builds with each stitch, as small, thoughtful gifts or treats are revealed, reminding us of the magic of giving and togetherness. In a world increasingly filled with digital distractions, creating your own DIY calendars allows for a personal touch that can be cherished for years to come. Join me as we explore the beauty of this handcrafted countdown, perfect for families looking to add a unique twist to their festive celebrations.

Key Takeaways

  • Discover the joy of creating a handmade crochet advent calendar for the holiday season.
  • Explore the diverse range of crochet advent calendar patterns and designs available, from traditional to whimsical.
  • Learn essential crochet stitches and techniques to master the art of crafting your own festive countdown.
  • Personalize your crochet advent calendar with meaningful symbols, motifs, and surprises for a truly unique creation.
  • Proudly display your handmade crochet advent calendar and share the holiday spirit with friends and family.

The Joy of Crocheting a Festive Advent Calendar

Crocheting an advent calendar brings the holiday spirit into your home. It’s a way to celebrate the season and add a personal touch to your decor. The act of crocheting an advent calendar is rewarding, letting you express your creativity and make something unique.

Embracing the Holiday Spirit with a Handmade Treasure

An advent calendar is a special tradition that counts down to Christmas. By crocheting your own, you create a piece of art that captures the holiday’s essence. The yarn projects and crocheted ornaments will fill your home with warmth and joy, becoming a centerpiece for your festive gifts and decor.

Selecting the Perfect Yarn and Colors for Your Project

Choosing the right yarn and colors is key for an advent calendar. Pick festive colors like deep reds, rich greens, and metallics. The yarn’s texture and quality will also impact your project’s look, so explore different options to find the perfect match.

“Crocheting an advent calendar is a wonderful way to infuse your home with the spirit of the holidays. By creating a handmade treasure, you can celebrate the joy of the season and add a personal touch to your Christmas decor.”

Whether you’re experienced or new to crocheting, making a crochet advent calendar is unforgettable. Embrace the holiday spirit, let your creativity shine, and create a unique treasure that will be a part of your Christmas traditions for years.

Mastering the Basics: Essential Crochet Stitches and Techniques

Before starting your crochet advent calendar, it’s key to know the basic stitches and techniques. Learning the chain, single crochet, and double crochet stitches is crucial. These will be the base for your beautiful crochet project.

The double crochet stitch (dc) is very popular and versatile. It creates a fabric that drapes well and is fast to make. This makes it perfect for many projects.

For double crochet, use a medium-sized hook, like an H-8 (5 mm), and medium-weight yarns. This combo is great for beginners. It helps them see and learn the stitch better.

To make sure your double crochet projects look great, avoid common mistakes. These include miscounting stitches and losing track of rows. With practice, you’ll get better at making perfect double crochet stitches.

There are also many variations of the double crochet stitch to try. You can explore the V-stitch, cluster stitch, and linked double crochet. These add texture and interest to your crochet.

Knowing crochet patterns and abbreviations is also important. Luckily, there are many online resources to help you learn. They make it easier to become a confident crocheter.

With a good grasp of the essential stitches and techniques, you’re ready to improve your crochet skills. Whether you’re new or experienced, keep practicing and trying new things. This will make your crochet advent calendar project a huge success.

Crochet Advent Calendar Patterns: A World of Possibilities

As Christmas gets closer, crochet advent calendars open up a world of possibilities. You can make a classic advent calendar or something more fun with amigurumi ornaments. There’s a pattern for every skill level and style.

Traditional Advent Calendar with Pockets or Drawers

The traditional advent calendar is a timeless choice. It has pockets or drawers for treats, making each day exciting. You can crochet it all or use pre-made parts to match your holiday look.

Amigurumi Ornament Countdown for a Whimsical Touch

For a playful twist, try an amigurumi ornament countdown. It’s filled with small, crocheted figures like snowmen and stars. Hang them on your tree for a festive display.

Crochet Advent Calendar Pattern Details Traditional Advent Calendar Amigurumi Ornament Countdown
Stitch Difficulty Beginner to Intermediate Intermediate to Advanced
Customization Options Pockets, Drawers, Embellishments Variety of Amigurumi Figures, Themed Designs
Final Size Varies, Typically 22-60 inches Varies, Typically 2-6 inches per ornament
Yarn Weight Worsted, Aran Worsted, Bulky

Choosing between classic or whimsical, you’ll find a pattern that makes your holiday special. It’s a unique keepsake that captures the holiday spirit.

Crochet Advent Calendar

Making a crochet advent calendar is the core of this holiday project. It’s a fun way to count down to Christmas. By crocheting each pocket, drawer, or ornament, you make something special. It will become a beloved tradition in your home for years.

The 2023 Amigurumi Advent Calendar Crochet Along starts in September. It aims to finish by mid-November. The main doll is Advent Adam, with a surprise doll, Advent Addy, added later.

To begin, the crochet along gives a detailed list of supplies for the first 10 weeks. You’ll need Brava Worsted Weight Yarn, safety eyes, buttons, and more. The project suggests using Brava Worsted yarn and a 3.5mm (E) crochet hook for the whole calendar.

Pattern Release Schedule Crochet Along Details
  • Legs and body patterns released on January 13th
  • Subsequent patterns released daily on the blog
  • Starts on November 15, 2023
  • Ends in the middle of December
  • Printable and downloadable PDFs available after the crochet along

The crochet advent calendar is a labor of love. It includes 25 small amigurumi items. With the designer’s help and the community’s support, you’ll make a cherished crochet advent calendar, holiday countdown, and handmade Christmas decor piece.

Crochet Advent Calendar

“The Amigurumi Advent Calendar Crochet Along is a wonderful way to create a unique and meaningful countdown to the holidays. By crocheting each piece, you’ll not only develop new skills but also build a treasured family tradition.”

Customizing Your Advent Calendar with Personal Touches

When you start crocheting your crochet advent calendar, think about adding symbols that mean something to you. These personal touches will make your advent calendar truly special and meaningful.

Incorporating Meaningful Symbols and Motifs

Make your personalized holiday decor stand out by crocheting special items. You could add initials, monograms, or favorite crochet christmas symbols like snowflakes or stars. These details will make your advent calendar a treasured keepsake for years.

  • Crochet initials or monograms to add a personalized touch
  • Incorporate classic holiday symbols like snowflakes, stars, or Christmas trees
  • Choose colors and patterns that complement your home’s holiday décor

By customizing your crochet advent calendar with personal touches, you’ll create something truly unique. Let your creativity show and make this advent calendar a reflection of your style and traditions.

“Handmade holiday decor is a wonderful way to incorporate personal touches and make your home feel extra special during the season.”

Filling Your Handmade Advent Calendar with Delightful Surprises

The fun doesn’t stop at crocheting the advent calendar itself. Now, it’s time to fill it with delightful surprises! You can include tiny candies, miniature ornaments, or other small gifts. Choosing the perfect items for your handmade pockets or drawers will make the Christmas countdown even more exciting.

Creative Ideas for Tiny Treats and Gifts

Here are some fun and festive crochet advent calendar fillings:

  • Bite-sized chocolates or candies
  • Mini ornaments or charms
  • Small stationery items like notepads or stickers
  • Tiny jewelry pieces like earrings or charm bracelets
  • Miniature figurines or holiday-themed trinkets
  • Gift cards for a coffee or hot chocolate

The possibilities are endless when it comes to filling your handmade advent calendar! Visit your local craft store or dollar store for inspiration. You’ll find inexpensive holiday treats and small gifts to tuck away.

“The joy of crafting a personalized advent calendar is in the details – from selecting the perfect fillings to adding those special finishing touches.”

With a little creativity and attention to detail, your handmade advent calendar will become a cherished holiday tradition for years to come.

crochet advent calendar fillings

Displaying Your Crochet Advent Calendar with Pride

Once you’ve finished your crochet advent calendar, it’s time to show it off. Displaying your work can make your home feel more festive. Try placing it on the mantel, a side table, or even on the wall.

Handmade crochet advent calendars are a chance to show off your skills. By displaying your crochet advent calendar beautifully, you can inspire others and spread holiday cheer.

Set up a special holiday display area in your home. It could be a cozy corner, a side table, or a bookshelf. Add festive decor like lights, figurines, or a small Christmas tree to make it inviting.

Or, hang your advent calendar on the wall. Use a sturdy rod or dowel to hold it up. Add some holiday decorations like ornaments or a ribbon to make it pop.

“The true joy of the holiday season lies in the handmade treasures that adorn our homes, each one a reflection of our creativity and love.”

Displaying your crochet advent calendar is all about pride. It shows your hard work, skill, and holiday spirit. Enjoy showing off your creation and sharing the joy of the season.

Sharing the Joy: Gifting Your Handmade Crochet Advent Calendar

Handmade crochet advent calendars are special, and you can share that joy with others. Making an extra calendar to give as a gift is a great idea. It brings holiday cheer and a unique, handcrafted treasure to someone special.

When you gift your crochet advent calendar, you share the holiday joy. Your loved one will be thrilled to discover a new surprise every day. They’ll love the festive decorations and cozy items you’ve made with care.

Creating a special gift like this is rewarding. Choose yarn colors and patterns that match your recipient’s style. As they enjoy each new surprise, they’ll remember the love and effort you put into it. Giving a handmade advent calendar is a thoughtful way to make the holiday season brighter and create lasting memories.

FAQ

What is a crochet advent calendar?

An advent calendar is a fun way to count down to Christmas. Making a crochet advent calendar adds a personal touch to your holiday decor.

How do I select the perfect yarn and colors for my crochet advent calendar?

Choose festive colors like deep reds, rich greens, and metallics for your advent calendar. The yarn’s texture and quality also matter for the look of your project.

What essential crochet stitches and techniques do I need to know?

You need to know basic stitches like the chain, single crochet, and double crochet. Also, learn to read patterns and follow instructions.

What types of crochet advent calendar patterns are available?

There are many patterns to choose from. You can pick a classic design with pockets or go for whimsical amigurumi ornaments.

How can I personalize my crochet advent calendar?

Add personal touches like initials, monograms, or holiday icons. This makes your advent calendar truly unique.

What can I fill my crochet advent calendar with?

Fill it with treats, ornaments, or small gifts. Choosing the right items makes the countdown more fun.

How should I display my completed crochet advent calendar?

Display it on a mantel, side table, or hang it on the wall. This adds to the festive feel of your decor.

Can I gift my crochet advent calendar to someone else?

Yes, you can gift it to a loved one. It’s a unique and heartfelt present that spreads holiday cheer.

Source Links

How to Crochet a Star

Craft a Star with Ease: How to Crochet a Star

Ever thought about making a star from yarn with just a few stitches? You’re in the right spot! This guide will show you how to crochet a star easily. It’s great for holiday decorations or personal crafts. Let’s explore the fun of making your own DIY crochet star!

Brittany from B.Hooked Crochet has a beginner-friendly pattern for us. It’s fun for both newbies and seasoned crocheters. You can use medium-weight yarn for a 4-inch star or try different yarns and hooks for unique sizes.

Are you ready to add a touch of whimsy to your crafting repertoire? If so, you’re in for a treat! In this guide, we’ll explore how to crochet a star with ease, a delightful project that brings joy to crocheters of all skill levels. Whether you’re a complete beginner or a seasoned pro looking to try something new, this Crochet Star DIY guide will walk you through creating beautiful, star-shaped designs that can be used for decorations, gifts, or even as charming embellishments for other projects. 

With just a few basic stitches and some medium-weight yarn, you can whip up a 4-inch star in no time, or mix it up by experimenting with different yarns and hooks for unique sizes and textures. Let’s dive into the enchanting world of crochet and discover the magic of crafting your very own Crochet Star Pattern!

Key Takeaways

  • The crochet star pattern takes approximately 10 minutes to complete.
  • The finished size is 4 inches wide using medium-weight yarn and a 5.0mm hook.
  • The pattern is adjustable for different sizes by varying yarn weights and hook sizes.
  • Standard US crochet terminology is used, including Ch (Chain) and Dc (Double Crochet).
  • A handy video tutorial is available on YouTube for visual learners.

Introduction to Crocheting a Star

Learning to crochet a star is a fun and rewarding journey. A Step-by-Step Crochet Star guide makes it easy for beginners. It breaks down the process into simple steps, perfect for a Beginner Crochet Star Tutorial.

The star stitch is a key part of our project. It starts with 22 stitches. Each row has a beginning, star stitches, and an end, making it easy to follow.

Making crochet stars is a fun and affordable hobby. It uses leftover yarn and tools, keeping costs low. These stars can add beauty to many items, like holiday decorations and baby blankets.

The pattern works for both right and left-handed crocheters. It’s important to remember that turning chains don’t count as stitches. This ensures your star turns out right every time. With just 11 steps, this tutorial helps beginners make beautiful stars.

Materials and Tools Needed for a Crochet Star

Starting a crochet star project is easy with the right crochet star materials. Here’s a quick list of what you need for this fun project:

  • Yarn: I suggest Flax & Twine Daytime Linen in Fingering Weight in Stone. You can also buy kits in different yarn sizes. Some good yarns include:
    • Style Craft Bambino DK in Clotted Cream – finished size: 3 inch X 3 inch (using a 4mm hook)
    • James C Brett Twinkle DK in Gold – finished size: 3 inch X 3 inch (using a 4mm hook)
    • Rico Fashion Cotton DK Metallise DK in White Gold (002) – finished size: 3.5 inches X 3.5 inches (using a 4mm hook)
    • Paintbox Simply Super Chunky in Champagne White – finished size: 7 inches X 7 inches (using a 9mm hook)
    • Paintbox Simply Super Chunky in Champagne White & Hobbii Umami Scarlet (17) – finished size: 6 inches X 6 inches (using a 9mm hook)
  • Crochet Hook: You’ll need a 2.35mm crochet hook, but kits might have different sizes. Here are some options:
    • 4mm hook for medium projects
    • 6.5mm hook for larger, more pronounced stars
    • 9mm hook for extra large stars
  • Tools: Make sure you have scissors and a yarn needle too.

Having all these crochet star materials ready will help you follow the crochet star DIY guide. Let’s look at how different yarns and hooks change the result:

Yarn Type Hook Size Finished Size
Style Craft Bambino DK in Clotted Cream 4mm 3 inch X 3 inch
James C Brett Twinkle DK in Gold 4mm 3 inch X 3 inch
Paintbox Simply Super Chunky in Champagne White 9mm 7 inch X 7 inch
Paintbox Simply Super Chunky & Hobbii Umami Scarlet (17) 9mm 6 inch X 6 inch

Get your crochet star materials and start with the crochet star DIY guide. You’ll make beautiful, versatile crochet stars for your next project!

Choosing the Right Yarn and Hook

Choosing the right yarn and hook is key when making your Crochet Star Pattern. The yarn’s texture and weight greatly affect your star’s look. I love trying out different yarns to see their unique effects.

Types of Yarn

Medium-weight yarn is best for a perfect crochet star. It’s easy to work with and looks great when finished. Brittany likes using Bernat Maker yarn with an 8mm hook for a sturdy star.

You can also try different yarn textures like fluffy Homespun or super bulky Go For Faux. They offer flexibility for various styles.

Feel free to play with different textures and colors for unique stars. When choosing yarn for crochet star patterns, mixing yarn weights like DK, Bulky, and Worsted can create stunning combinations.

Hook Sizes

The right hook size goes with your yarn. Using a hook size larger than recommended can prevent curling and improve your star’s look. For example, an 8mm hook with Bernat Maker yarn makes a star with perfect structure.

Always check the yarn’s ball band for recommended hook sizes. This ensures compatibility and the best results for your Crochet Star Pattern.

In conclusion, the right yarn and hook size make your crochet process easier and your star more appealing. With practice and experimentation, you’ll find the perfect match for your projects.

How to Crochet a Star: Step-by-Step Tutorial

Making a crochet star is fun and easy with our guide. It has two main rounds, making it quick and simple for everyone. Follow this step-by-step guide to make your star.

First, get your supplies ready: size 5 bulky yarn, a size K (6.50 mm) crochet hook, and more. You’ll need a yarn needle, scissors, fabric stiffener, jute cord, cardboard, plastic wrap, and rust-proof pins. These are key for a perfect star.

The pattern uses American crochet terms. You’ll learn basic stitches like the chain (ch), double crochet (dc), and more. Start with a magic loop, chain 3, and then do 9 double crochets. This makes the base of your star.

In Round 2, the magic unfolds. Chain 1 and single crochet in the same spot. Then, use double crochet, treble crochet, and chains to make 5 star points.

The Crochet Star Video Tutorial is a great help. It shows each step for both right and left-handed crafters. Watching it with the written guide helps both visual and auditory learners.

After crocheting, block your star. Mix fabric stiffener with water, then shape your star on a mat or cardboard. Secure it with pins and let it dry for hours.

Finishing a crochet star is very rewarding. Try different yarn colors and sizes to make beautiful stars. They’re great for decoration.

Simple Crochet Star Pattern Instructions

The Easy Crochet Star Pattern is perfect for both new and experienced crafters. It has only two rounds, making it great for beginners. Here’s a simple guide to help you start.

Round 1: Making the First Loop

Start by making a ring with chain stitches. This ring is the base of your star:

  1. Begin with a slip knot and chain 4.
  2. Join with a slip stitch (sl st) to form a ring.
  3. Chain 3 (this counts as your first double crochet).
  4. Work 15 double crochets (dc) into the ring.
  5. Join with a slip stitch to the top of the beginning chain 3.

Round 2: Forming the Star Points

In Round 2, you’ll make the star’s points:

  1. Chain 5 (this counts as the first treble crochet and chain 1 space).
  2. In the same stitch: Work 2 treble crochets (tr), 1 double crochet (dc), 1 half-double crochet (hdc), and 1 single crochet (sc).
  3. Skip the next stitch, and in the following stitch, repeat the sequence of 1 sc, 1 hdc, 1 dc, 2 tr, and chain 1.
  4. Repeat step 3 around to form all 5 points.
  5. Join with a slip stitch to the first chain 5 space.

Once you’ve finished, weave in the ends for a neat look. This pattern is easy and beautiful. You can change the yarn and hook size to make it your own. Try blocking the star to make it look even sharper.

Tips for Perfecting Your Crochet Star

To get your crochet star just right, remember a few key tips. First, carefully count your stitches in each round. This keeps your pattern tight and your star symmetrical.

Playing with hook sizes and yarn weights is also important. Changing these can make your star bigger or smaller, without altering the pattern. A smaller hook and thinner yarn make a delicate star. A larger hook and thicker yarn make it more substantial.

Don’t overlook the importance of gauge and finished size checks. Even though gauge isn’t always necessary, it can affect your star’s look and size. A quick gauge check before starting can save you time and ensure your star turns out as you hoped.

Crocheting Tips

For detailed steps on making a perfect crochet star and more tips, see this comprehensive tutorial.

Aspect Tips for Perfection
Stitch Counting Consistently count your stitches in each round to maintain symmetry.
Hook & Yarn Adjustments Experiment with different hook sizes and yarn weights to achieve the desired star size.
Gauge Checks Even if not mandatory, gauging ensures the final product meets your expectations.

Enjoy the journey and feel free to experiment with different techniques. Whether for holidays or a mobile, each star can be a unique piece of art.

Remember, crochet stars are versatile. They can be ornaments, appliques, or garlands, among other things. Happy crocheting!

Different Uses for Crochet Stars

Crochet stars are very versatile. They can add a personal touch to your home, festive settings, or craft projects. You can make small or large stars, depending on your project.

Decorative Ideas

Decorative crochet stars are great for many decor projects. They can be turned into festive garlands, wreaths, or even coasters:

  • Crochet star garlands: Use lightweight yarn to make garlands with big and small stars. You can turn them into ornaments by adding a chain loop.
  • Star wreaths: They’re perfect for patriotic displays. You can add flags to the stars for a festive look.
  • Star coasters: These coasters are trendy and functional. They have six sections and take two rounds to make.

Craft Projects

Crochet stars are not just for decoration. They can also be used to make unique gifts or household items. Here are some examples:

Project Description
Bernat Crochet Star Baby Blanket It’s great for beginners because of its easy rounds.
Crochet Starshine Blanket This blanket is challenging but rewarding. It’s part of the Hugs & Kisses Series.
Crochet Stars and Stripes Forever Wreath This wreath has 4 sets of 3 stars and 4 American flags. It’s perfect for patriotic displays.
Crochet Star Throw This throw uses diamond shapes. It’s simple to make.
Crochet Radiating Star Throw This throw is big, with a 60″ diameter. It uses Bernat Super Value Big Stripes in Warm Patina.

There are endless possibilities with crochet star projects. You can keep making stars to use in your projects.

How to Vary the Size of Your Crochet Star

Creating a unique crochet star means you can change its size. You can do this by using different yarn weights and hook sizes. For example, using a thicker yarn like Whims Merino with a big hook makes the star bigger.

Crochet Star Size Variation

For a smaller star, use thin yarn and a smaller hook. This method helps you get precise results. Crocheting with different yarn weights lets you customize your star in many ways.

Star Variation Type Stitch Count Hook Size Yarn Types
Small Star 10 half double crochets 4mm Whims Merino
Regular Star 35 stitches Furls Cookies and Cream Streamline Swirl (size H) Wool of the Andes Worsted
Large Star 50 stitches 8mm Whims Merino
Captain America Shield 60 stitches 8mm Wool of the Andes Worsted

Crocheting with different yarn weights lets you explore crochet star size variation deeply. For a Small Star, stop at five loops on the hook. This makes the star smaller. For a Big Star, pick up an extra loop to make it bulkier.

Knowing these variations makes your crochet projects more creative and flexible. You can easily make stars of any size.

Finishing Touches: Blocking and Stiffening Your Star

Finishing your crochet star with blocking and stiffening makes it look better and last longer. These steps make your star look polished and keep its shape for years.

Blocking Your Star

Blocking is key to getting your crochet star just right. You can use simple finger adjustments or wet-blocking. It makes your star look sharp and neat.

Block your star by pinning it on a foam board or mat. Make sure each point is spread out evenly.

  • Use approximately 54 pins for a 6-point star.
  • The size range of crocheted stars usually falls between 3.5″ to 4″ in diameter with size 10 thread.
  • The average number of pins required per star is around 60.

After pinning, lightly spray the star with water or use a damp cloth. Let it dry completely, which might take up to 24 hours.

Stiffening Techniques

Wondering how to stiffen crochet stars? There are many ways to make your stars firm. One method is mixing PVA glue with water. Soak your star in this solution, then pin it back onto your blocking board.

  • Time required per star stiffening: 15-20 minutes.
  • Drying time for stiffened stars: Up to 24 hours.
  • Number of stars stiffened in an average tutorial: 9.

Another option is using spray starch. It gives a stiff finish but might need reapplication after washing.

For more beginner crochet projects and tutorials, check out this comprehensive guide.

Blocking and Stiffening Aerosol Sprays Price Volume Drying Time User Rating
Aleene’s Stiffen-Quick $5.49 8 fl oz 24 hours 4.7/5
Stiffy by Plaid $4.99 12 fl oz Up to 36 hours 4.5/5
Mary Ellen’s Best Press $6.99 16 fl oz 24 hours 4.8/5

Mastering these crochet star finishing techniques will help you create beautiful, lasting decorations for any season.

Conclusion

Finishing your crochet star project shows how simple and creative it can be. You’ve turned basic yarn and a hook into a beautiful star in just 10 minutes. This project lets you show off your skills and personal style, whether making a small or large star.

Now, you can decorate your home or give these stars as gifts. They’re perfect for Christmas decorations or baby blankets. You’ve made something special with just yarn and a hook.

If this guide inspired you, there’s more to explore. Check out this tutorial for more star patterns. Each star is a small victory and a lovely addition to your space. Happy crocheting, and may your stars bring joy and light.

FAQ

What materials and tools do I need to crochet a star?

You’ll need about 6 yards of medium-weight yarn and a 5 mm hook. Also, have scissors and a yarn needle ready. You can use leftover yarn and adjust the hook size for different star sizes.

What types of yarn are best for crocheting a star?

Choose yarns that match the look you want. Medium and bulky yarns work well. Brittany from B.Hooked Crochet likes fluffy Homespun and super bulky Go For Faux yarn. She also made a star with Bernat Maker yarn and an 8mm hook.

How do I choose the right hook size for my crochet star?

The yarn label usually suggests a hook size. But, using a larger hook can make your star look better and reduce curling.

Are there video tutorials available for crocheting a star?

Yes, there are video tutorials. Brittany from B.Hooked Crochet has a detailed video for both right and left-handed crafters. It shows how to make a crochet star step by step.

What is the basic pattern for crocheting a star?

The pattern has two rounds. The first round is a ring of chain stitches, double crochets, and chain spaces. The second round builds the star points with chain stitches and different crochets, ending with a slip stitch.

How can I vary the size of my crochet star?

Change the yarn weight and hook size to vary the star size. Use bulkier yarn and a larger hook for a bigger star. For a smaller star, choose lighter yarn and a smaller hook. A larger hook size can also make the star flatter.

What are some tips for perfecting my crochet star?

Count your stitches carefully and adjust the hook and yarn as needed. Gauge and size checks are key for the right size. Try different materials to get the look you want.

How can I use my crochet stars creatively?

Crochet stars are versatile. Use them as festive decorations or ornaments. They can even be mounted in picture frames for handmade art.

What is the process for blocking and stiffening a crochet star?

Blocking refines the star’s shape. You can use finger adjustments or wet-blocking. To stiffen it, mix PVA glue with water or use spray starch. These methods are great for ornaments and hanging decorations.

Source Links